Home
/
Programming
/
4iE Smart WiFi Thermostat
How to: Initial 4iE Programming
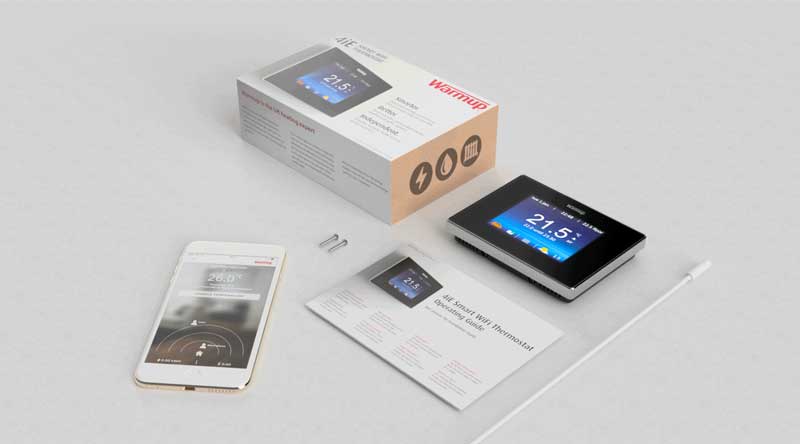
If you recently had a 4iE installed in your home or if you recently performed a reset to your 4iE, you will be prompted to go through the initial programming. Initial programming is important and we hope that this post will assist you in properly setting up your 4iE thermostat.
If you prefer to watch a clip of initial programming, check out this video:
Subscribe to our YouTube channel here.
The first setting to set during initial programming is the language. Scroll through our menu of language options, select the one that best suits you, and press accept.
The next screen will prompt you to connect to your WiFi network if you have a WiFi capable thermostat. If you’d like to connect at this time, select “Yes” and follow the prompts. To skip for no, select “no”.
Next you will select if you have a hydronic, electric, or electric with relay setup. At this time in North America Warmup is only selling electric systems. Confirm with your electrician if you have a relay installed or not and select the option that best fits your installation.
Power settings is the total wattage of the heaters connected to the thermostat. The wattage of your heater is the last series of numbers in the heater model number. Refer to the testing page provided by your installer for this information. If applicable, add your heaters wattages together, and input this number rounding as necessary. The thermostat will use this information to provide energy consumption information to you.
Once your power settings are input you will set the time and date.
After setting both time and date you can select where you are located and press “accept”.
The next screen will bring you to the temperature format. Select your desired format and press “accept”.
Next is the home screen display. The home screen display is a personal preference. Choose from our menu of options and press “accept” to continue. On the next screen, you will be asked if you’d like this display light, dark, or black. Choose your preference and select “accept” again. The final question about the display will be brightness. Set your preference for brightness and press “accept” one more time.
Once you have set your display you will be asked about Audio Feedback. Leaving audio feedback set to, “on” will send energy saving tips to the thermostat. If you prefer not to get these energy saving tips, select “no” and “accept”.
Heating target is next. To heat just your floor you should target floor. To heat the entire room, Warmup recommends targeting air. Select which best assists in what you are looking to achieve and press “accept”.
The next screen is very important, heating limits. Different types of flooring have different heating limits for underfloor heating. If your flooring manufacturer has provided you with a specific maximum heating limit you can input this under “User Defined”> “Program min/max”. If you do not have a specific temperature, select your flooring type. Selecting your flooring type will put in Warmups recommended heating limits.
Once that is set, you will be prompted to enter information from your electric bill. First, select if you have a single energy tariff or single/low energy tariff. Enter your cost on the next screen.
Finally, you have made it to programming. You can set a custom program, a preset program, or a fixed temperature. Select which you’d like to continue.
Custom Program:
Fixed Temperature:
Your setback temperature is the temperature that your floor will never fall below. Enter your desired setback temperature and press “accept” to complete the initial programming setup of your 4iE. Taking the time to properly program your 4iE thermostat will give you the most from your device. If you have any questions feel free to contact us.


![Thumbnail [200x250]](/wp-content/uploads/Indoor-Systems-Page-Image.png)
![Thumbnail [200x250]](/wp-content/uploads/image-13.png)
![Thumbnail [200x250]](/wp-content/uploads/Projects-Image.png)