Home
/
Programming
/
7iE Smart Matter Thermostat
7iE Initial Programming
If you recently installed a 7iE in your home or performed a reset to your 7iE, you will be prompted to go through the initial programming. The 7iE initial programming is important and we hope that this post will assist you in properly setting up your thermostat.
Video Instructions
The video below will visually walk you through the Initial Programming of a 7iE Thermostat:
Written Instructions
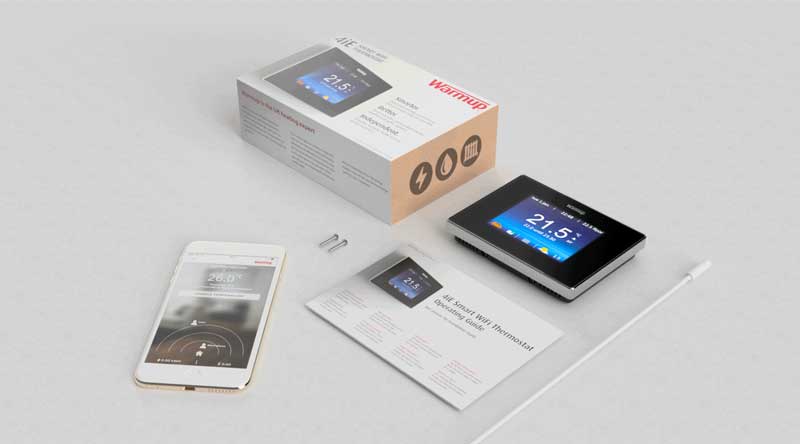
If you haven’t done so already, attach the faceplate to the back of the thermostat. This can be done by hooking the faceplate on the top part of the mount and then pushing the bottom of the faceplate into the mount until it clicks into place. Once the faceplate has been connected, you will see a “Warmup” screen as it starts booting up. Once the thermostat finishes loading, you will need to choose your settings:
Language
The default selection is English. If this is the language you would like to use, press “Next.”
For other languages, scroll through the options until the language you would like to use is selected, and then press “Next.”
System Type
The default selection is Electric Floor. If you are using your 7iE with a Warmup Electric Underfloor Heating System, press “Next.”
For other system types, scroll through the options to select the system type you are using your 7iE with, and then press “Next.”
Floor Type
The default selection is Tile/Stone. If this is the correct floor type for the area that is controlled by this 7iE Thermostat, press “Next.”
For other floor types, scroll through the options to select the correct floor type for this system, then press “Next.”
Choosing the correct floor type is important because it will set an upper limit to how hot the floor can get, since some floor types can be damaged by high temperatures. However, this setting can be overridden; click here for instructions on overriding the heating limit.
Application
Control
The default selection is Floor. This means that the thermostat will read and control the temperature of the floor.
To choose another control option, scroll under Control and select the option you would like to use. If the sensor probe that came with the thermostat was not installed, you may choose to control the system based on the ambient air temperature in the room. If so, scroll to select “air.”
Limit
The default selection is None. For most users, this will be the desired option. Once the control option is set to the correct option, press “Next.”
There are some use cases where a different limit setting may be preferred. For more information on limits and their uses, refer to Page 5 of the 7iE Installation Manual.
If needed, you can change this setting later; click here for instructions on how to change the sensor applications.
Network Setup
Next, you can set up the WiFi on your 7iE Thermostat with the MyHeating App using the QR code on the screen. For full instructions on how to connect your 7iE to the MyHeating App, click here.
Alternatively, if you would like to set up the WiFi at a later time or would like to continue to use your 7iE without WiFi, click “Dismiss.”
Set Time
If you set up the WiFi connection previously, this step will be skipped, as the time is controlled by the app connection.
Under both Hour and Minute, scroll to select the current time, then, scroll to select either AM or PM. Once the time is correct, press “Next.”
If you need to change the time later, click here for instructions.
Set Date
If you set up the WiFi connection previously, this step will be skipped, as the date is controlled by the app connection.
Under each Day, Month, and Year, scroll to select the current date. Once the date is correct, press “Accept.”
If you need to change the date later, click here for instructions.
Setup Complete
Once all of the above steps have been followed, your 7iE Initial Programming will be complete and you can continue to use your thermostat!
For more 7iE Instructional Videos, check out our playlist on YouTube.
If you have any additional questions or concerns, please don’t hesitate to reach out to us. Our support team is available to assist you and address any inquiries you may have. To access our support services, simply call us at (888) 927-6333.