When you think of underfloor heating, warm feet probably come to mind. However, that same radiant heat technology can also be used to gently warm a kitchen island countertop, creating a surprising and luxurious upgrade. Embedding a heating system beneath the stone surface turns your kitchen island into a warm serving station perfect for entertaining, food prep, or just adding extra comfort.
In this article, we’ll walk you through:
- The key benefits of installing a heated island countertop
- How to plan and prepare for the installation of radiant heat in an island countertop
- Step-by-step instructions for installing the radiant heat cables safely under the stone
- Where to purchase a radiant heating system for your kitchen island countertop
The Benefits of Radiant Heat in a Kitchen Island Countertop
Adding radiant heat beneath a kitchen island countertop offers more than just a surprising tech upgrade. Radiant heat can also bring practical and aesthetic value to your kitchen.
Luxury Serving Station
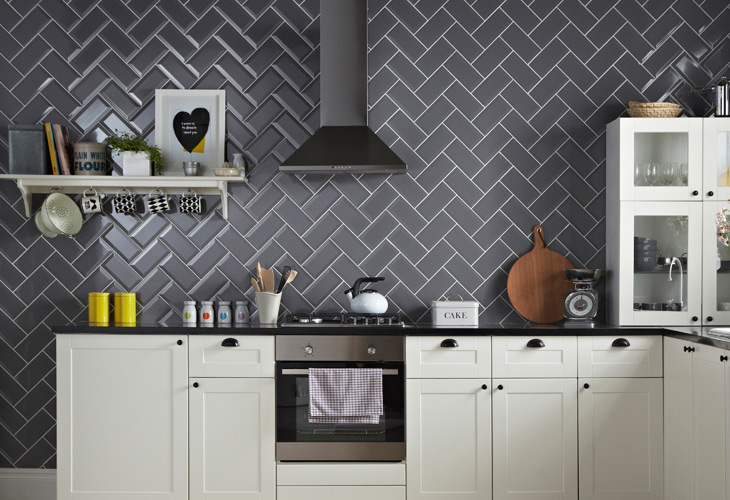
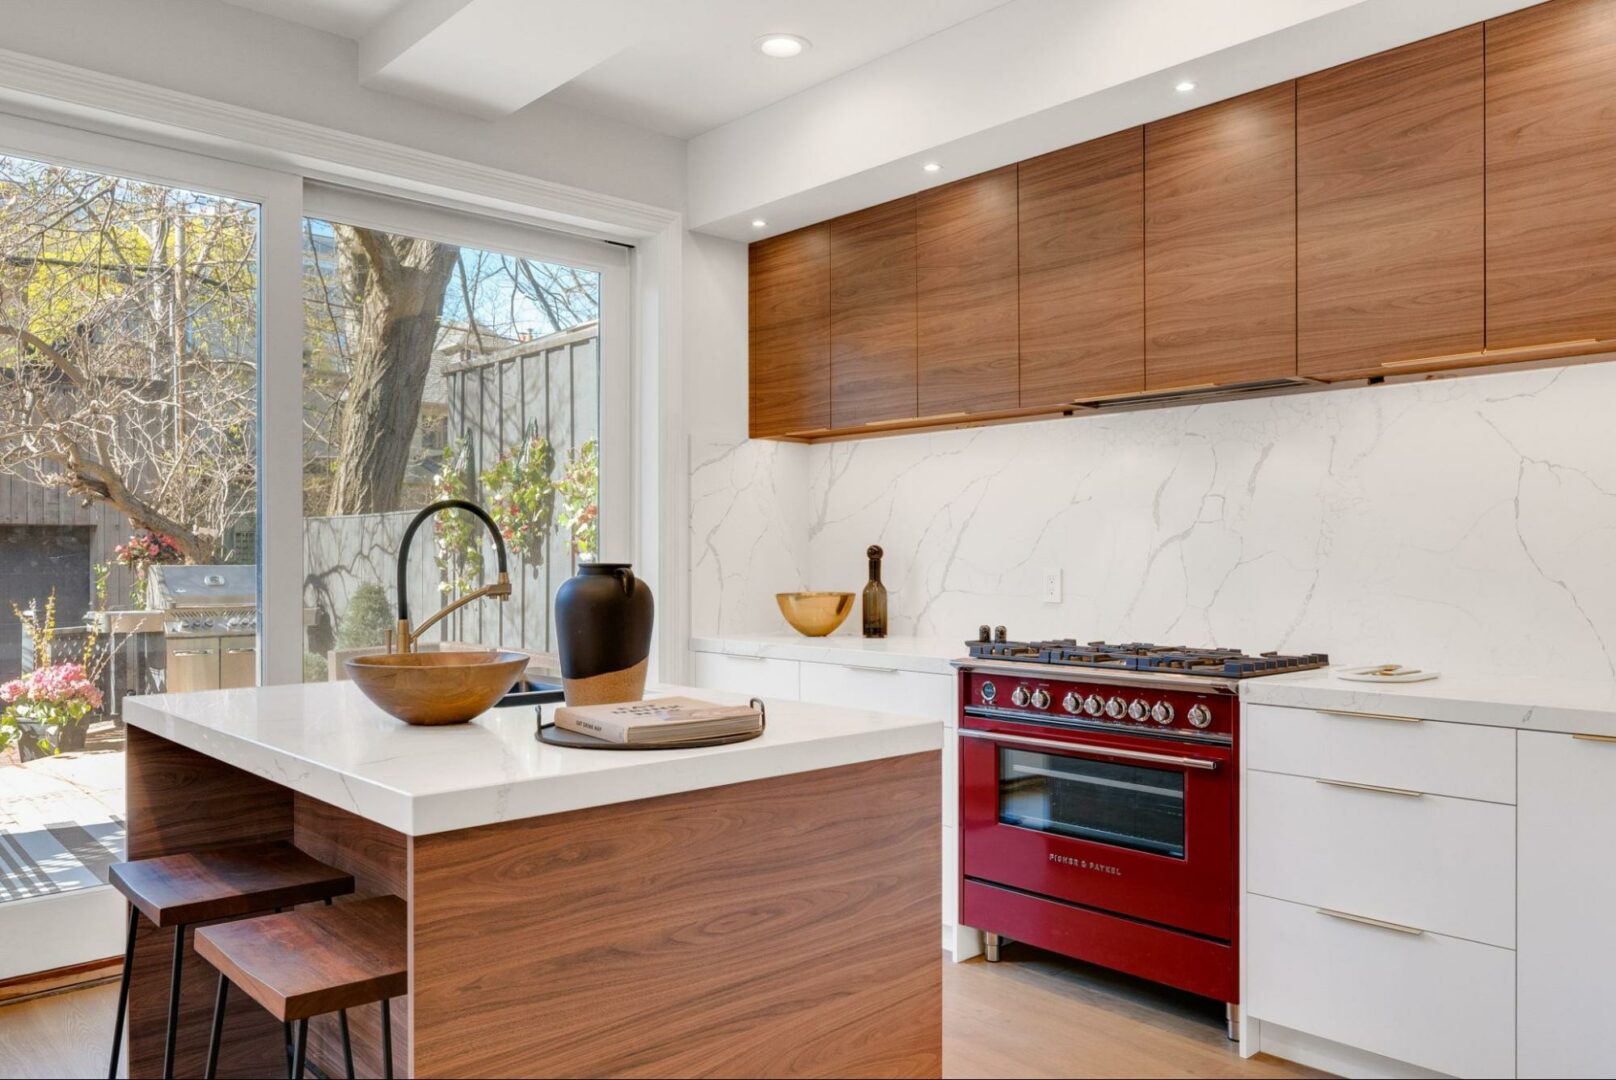
If you love to entertain, then a heated kitchen island countertop might be just the innovation you’ve been waiting for. With the countertop surface heated, you can easily keep appetizers, dishes, or drinks warm right on the island. The party host’s ultimate tool, a heated kitchen island countertop can keep entire countertops worth of food warm. Gone are the days of keeping appetizers in the oven, microwaving ten different plates, and scheduling oven time for each guest to warm up their dish.
Curious what a heated countertop would look like in practice? Read our case study of the Fisher family, frequent party hosts who installed radiant heat in their kitchen island countertop to enhance their kitchen for their visitors, creating the ultimate serving station.
Added Comfort
Stone countertops – especially cool materials like granite or quartz – can be cold to the touch, which can make using that area of your kitchen a less-than-ideal experience. Radiant heat under the surface of your kitchen island will gently warm the surface of the countertop, creating a more inviting space that will be more enjoyable to use, even during the cold winter months.
How to prepare for a heated countertop installation
Good planning is key to a smooth installation and long-term reliability of any radiant heat installation. Before starting the installation, consider these critical steps:
1. Check Local Codes
Some jurisdictions may have regulations about heating elements in countertops. Before proceeding with an installation, confirm with your electrician that your plan is code compliant.
2. Measure & Design
Accurately measure your kitchen island and determine where you will install the heating elements. In your measurements, be sure to account for space away from the edges of the countertop and any fixtures. For example, if you are installing a sink in your island, you will need to deduct that area from your measurements. Then, you can choose between a heating cable and a heating mat and plan your layout to match the shape of your countertop.
3. Gather Tools & Materials
In addition to your standard hand tools like a tape measure, hammer, etc., you will also need the following:
- Radiant heating element (either a cable or a mat)
- Plywood (often ¾”) for a stable substrate under the countertop
- Thinset mortar and tools for embedding the heating element
- A grinder with diamond blades for cutting and grinding
- Cleaning supplies for surface preparation
4. Consult Professionals
While many homeowners are comfortable with DIY projects, working with a countertop fabricator or electrician can ensure the system is installed safely and optimally.
How to install the radiant heating system
Installing radiant heat in a countertop is a multi-step process.
1. Prepare the Substrate
Install a stable base where the heating system will be installed. This is typically ¾” sanded plywood. Clean the substrate and the underside of the countertop thoroughly to ensure proper adhesion of the heating element.
2. Install the Heating Element
If you’re using a heating cable, install a membrane over the substrate to secure the cable and help you space the cable evenly. An uncoupling membrane, such as Warmup’s DCM-PRO Membrane, will also have the added benefit of protecting the stone.
If you’re using a heating mat, the mat can be installed directly over the substrate. For a self-adhesive mat, such as Warmup’s StickyMat, ensure that the substrate is clean and primed to prevent any issues with the mat sticking to the substrate.
Position the heating element according to your layout plan and ensure the heating element is secure.
3. Embed the Heating Element
Cover the cable or mat with a layer of thinset mortar, carefully packing it over the heating element and ensuring that the surface is smooth and level. Allow the thinset to cure per the manufacturer’s recommendations.
4. Test the Heating System
Before setting the stone countertop, connect the heating element to a digital multimeter and take resistance readings to ensure that there are no faults in the system. Visit our website for instructions on how to test your heating system.
5. Finalize the Installation
After the heating system has been installed and tested, lightly sand the skim-coated surface to ensure the countertop will sit flat on the surface. Carefully place the countertop onto the base, aligning it with the heating system underneath. Then, have an electrician wire the system to an underfloor heating thermostat.
Work with Warmup to Install a Heated Kitchen Island Countertop
Warmup is known for its high-quality heating solutions, including underfloor heating systems backed by 24/7 technical support. While our core focus is on underfloor systems, partnering with experienced providers and installers allows you to bring the same reliability and elegance to your heated countertop project.
Get a free, instant quote today to find the best Warmup system for your requirements. For more maintenance and installation tips, check out our YouTube channel.