
Installing the SIT-6E
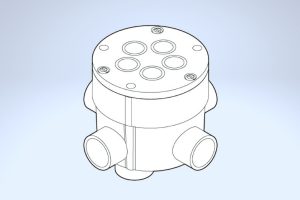
Before installing the sensor housing, remove the sensor plate. Install the sensor housing on a smooth, firm surface. Sensor surface must be flush with the finished pavement. A sensor submerged in a puddle of water will not function properly. To stabilize the final location of the sensor before paving: Insert lengths of rods/dowels on opposite sides and secure with a wire tie.
USE THE SHEET METAL COVER SUPPLIED WITH SIT-6E TO PROTECT SENSOR HOUSING DURING PAVING
Use ¾” rigid conduit for entire length of sensor cable
Do not share conduit with other wiring
Do not route conduit across pavement expansion or control joints (can go under)
NOTE: The sensor plate ships in the sensor housing and should not be installed until after paving is complete and sheet metal is removed. Caulking may be required.
Wiring:
Red, Black, White wires go to control panel
18 AWG for up to 500ft/12 AWG for greater distances
After wiring sensor, kneed supply duct sealant and pack into the sensor housing leaving enough space for sensor electronics and wiring
Place wiring and electronics into the housing.