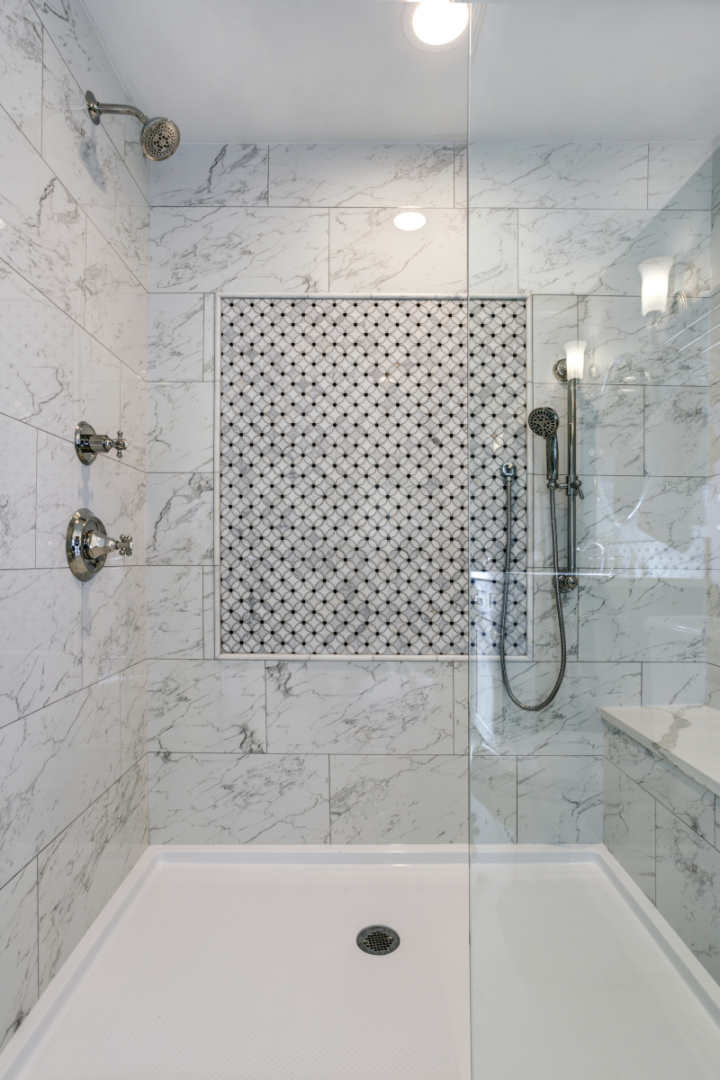
A bench in the shower is a great way to add interest and functionality to any shower space. It provides a place to relax and unwind, and for some, it is a requirement if they have mobility concerns. However, even with a steaming shower going, the seat may be chilly due to the time it takes for the bench to heat up.
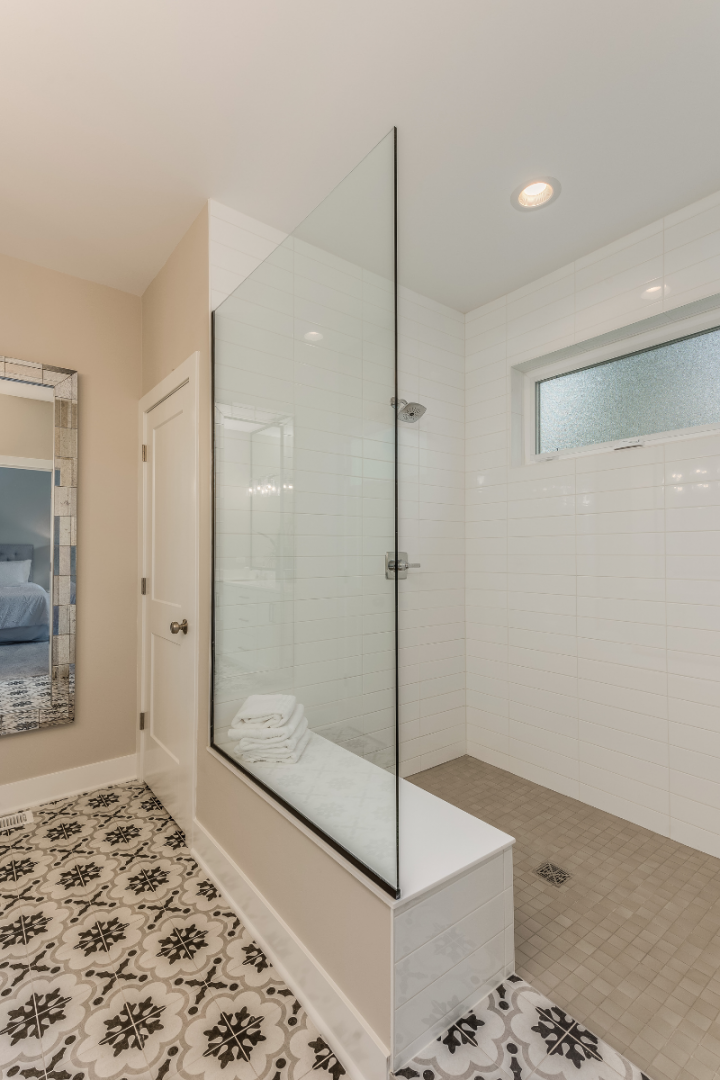
A shower bench, like any other piece of furniture, can be heated. Anyone who has difficulties sitting on a cold bench while bathing might benefit from a heated shower bench, especially if it is connected to an outside wall. This article will discuss the process of installing a heated shower bench.
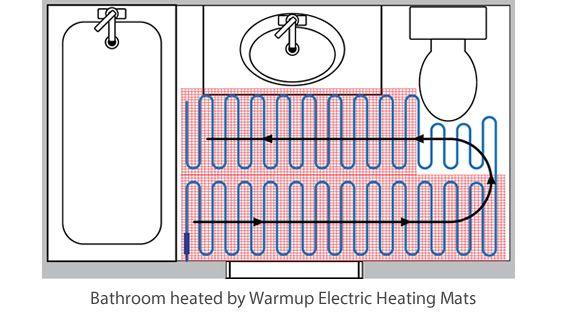
Utilize “In-Floor” Radiant Heating to Heat Shower Bench
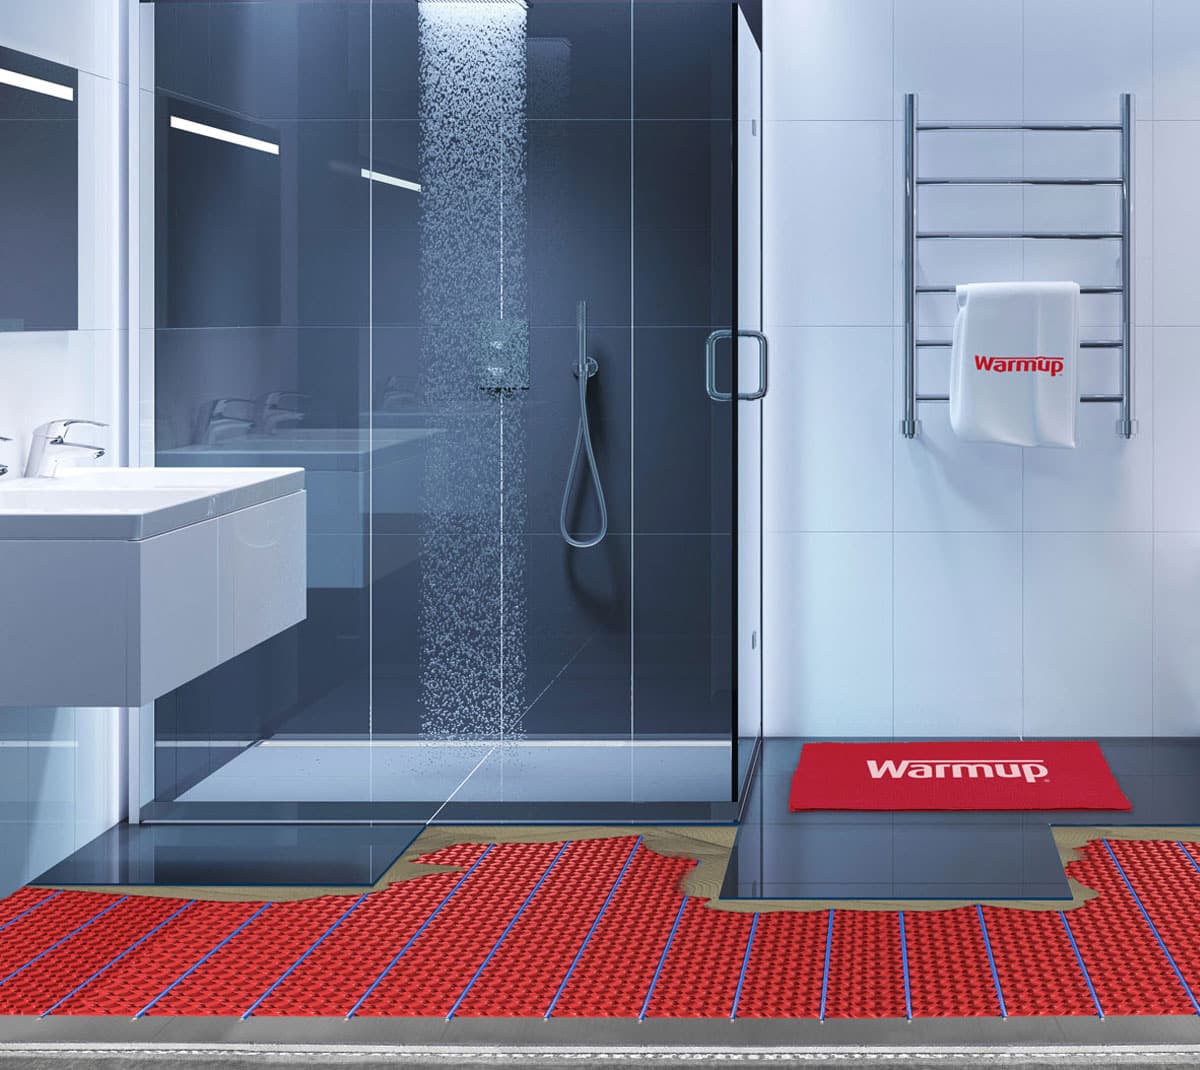
It would be a good idea to consider heating the floor and bench at the same time, since the materials required for both are the same, and the additional cost to heat the shower floor would be minimal in a standard shower. However, the comfort provided would make it worthwhile.
1. Construct Bench Within Shower Space
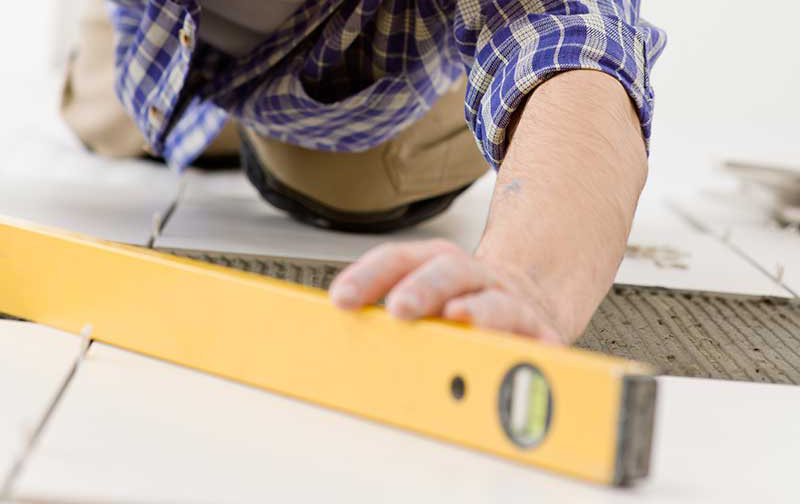
Locate the spot you want to situate the bench and construct it with standard framing lumber. You can create a corner bench as a simple platform that extends between two perpendicular walls, or make an actual bench seat supported by the floor of the shower. Once the bench is framed, cover it with the same underlayment used on the rest of the shower. Be sure to leave the top of the bench slightly angled, so that the water will run off toward the drain.
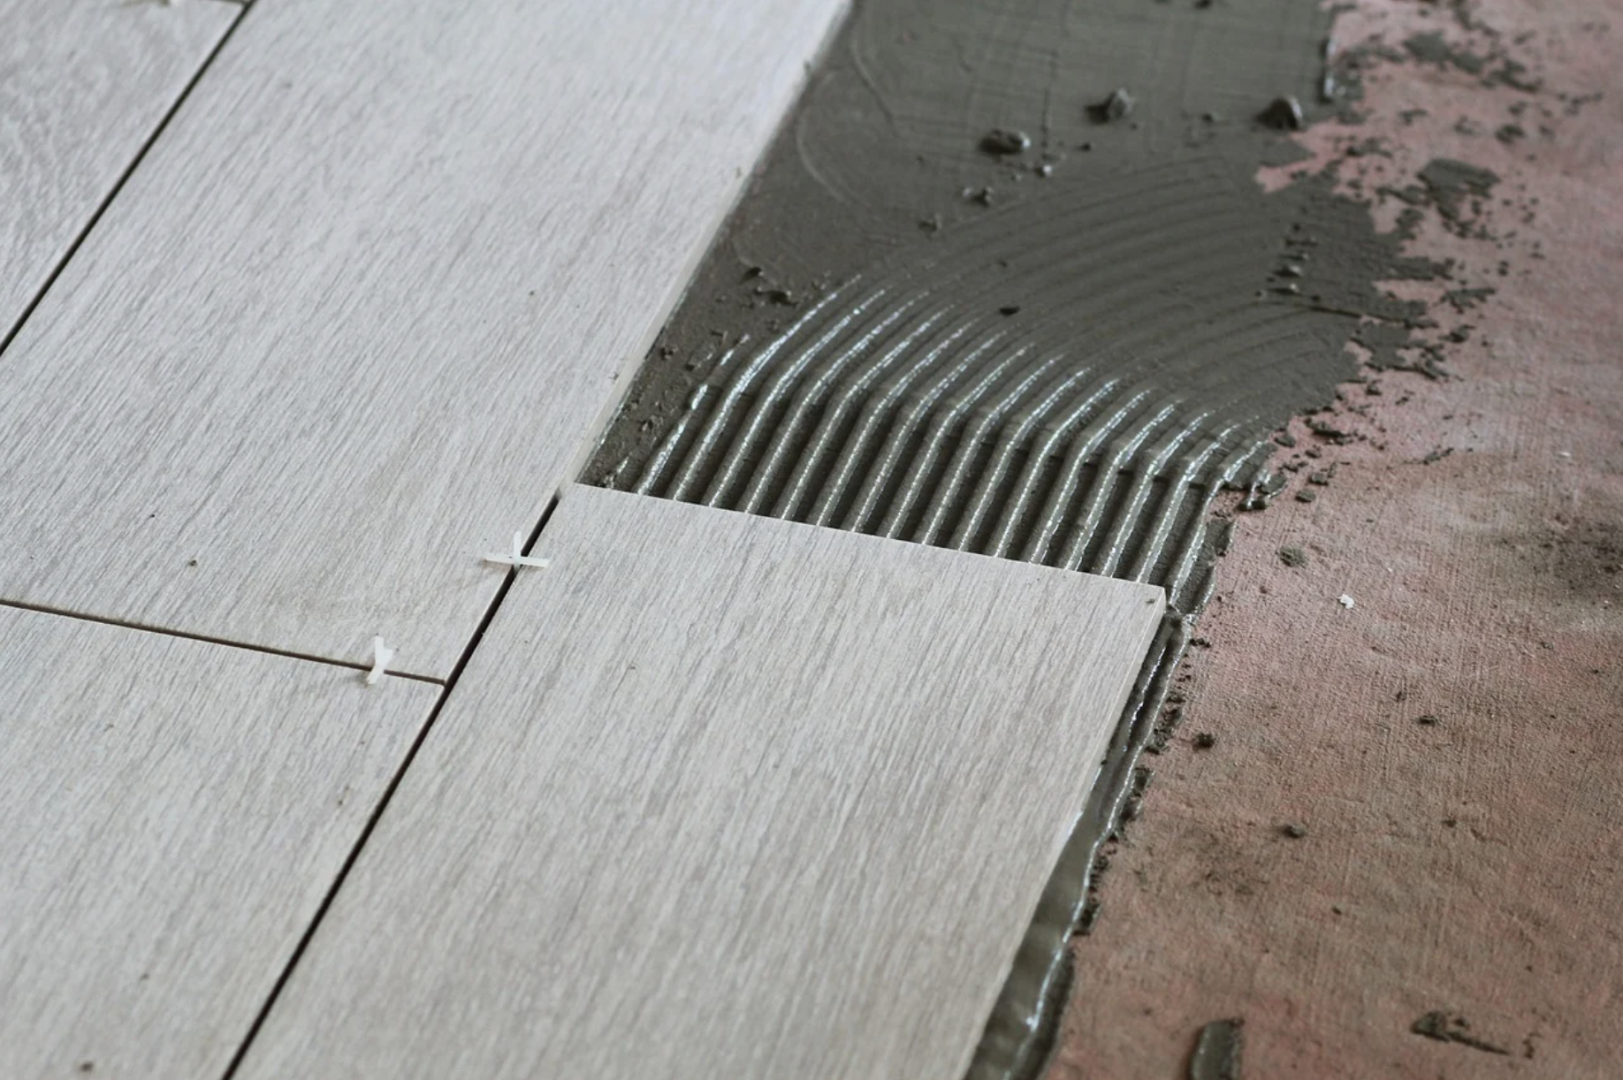
2. Cut the Radiant Floor Membrane to Fit the Bench Dimensions
There are many options when it comes to heat mat membranes, but the recommended method involves using an uncoupling system. This type of mat is designed to prevent the tile and grout lines from cracking due to the normal shifting and settling that happens in a home. If your bench has a unique design, you should make a pattern from a piece of cardboard and use it to achieve a perfect fit the first time.
3. Install the Heating Cable Within the Membrane
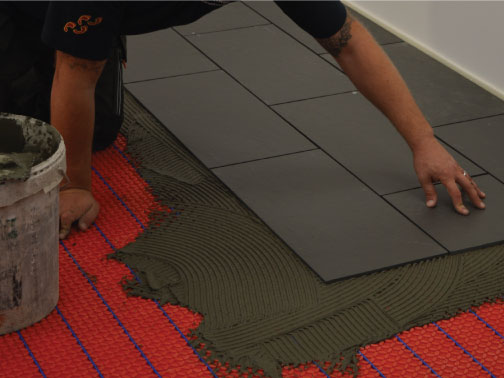
Warmup offers 2 membrane options – fleece-back or peel-and-stick. For fleece-back,the heat cable membrane should be adhered to the subfloor and bench with a layer of modified or unmodified thinset using a ¼” x ¼” v-notched trowel. Cover the floor and the bench with a thinset, and embed the membrane in it. Allow the thinset to cure in accordance with the manufacturer’s recommendations (usually overnight). Be sure to test the heat cable before installing to ensure there are no breaks in the line. The cable will be run back inside the wall, where it will be attached to a power source. Finally, attach the sensor wire to the membrane and run it back inside the wall where it will attach to the thermostat.
Both membrane options are “ready to tile” and installation can be done in a single day.

4. Add Waterproofing Membrane to Bench
Cover the installed cable membrane and heat wire with a layer of thinset to fill the spaces and provide a smooth surface for the tile. Roll the waterproof membrane over the bench and up the wall. Where the bench meets the wall, press the membrane tight into the corner to ensure the tile will fit properly.
Be careful not to press too hard and tear the waterproof membrane. Go over the surface of the membrane with a flat trowel to eliminate any extra thinset, and check to ensure all the air bubbles have been removed.
5. Apply Thinset
Lay out the tile on the bench before applying any thinset to get the best pattern that will require the fewest cuts. After the waterproof membrane is properly attached and dry, it’s time to apply the thinset for the tile. Be sure to use a flexible adhesive and grout to allow normal thermal movement. If possible, use a modified thinset, as it is better suited for heated applications. Use your ¼” X ¼” V-notched trowel to apply.
6. Install Tile or Stone Flooring
If necessary, snap a chalk line down the center of the bench as a guide, and starting in the center, lay the tiles on the thinset. To ensure you have enough adhesive on the bench, lay the first tile, then lift it up and check the back of the tile. It should have adhesive on all sections. Replace the tile and continue until finished.
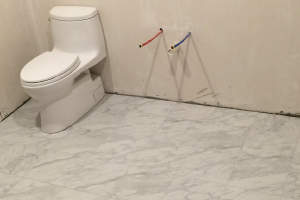
7. Install the Thermostat
The thermostat should be located near the shower and installed at eye level for ease of reading. Modern thermostats can be programmed and operated by Wi-Fi, allowing you to start heating the shower bench from anywhere in the home before you get in the bathroom. These thermostats get their reading from a sensor installed under the tile on the shower bench.
Create and Install a Heated Shower Bench with Warmup
Warmup is an international organization that has been providing underfloor heating solutions to the world for over 25 years. Our systems are tested and UL-approved for safety and performance.
Our technical advisors can help you plan the best layout for your shower bench, bathroom, or entire home. Contact us today for a free quote and start enjoying the comfort and efficiency of underfloor electric heating.