Heated floors are a great alternative to more traditional forms of heating; providing a cleaner, more efficient heating solution. In this article, we’ll walk you through everything you may want to know about installing Warmup’s range of radiant floor heating systems in your home. You’ll find out:
- Which rooms in a property electric floor heating is suitable for
- Which Warmup system is right for you
- The materials you will need to start your installation
- A step-by-step radiant floor heating installation walkthrough
- How to purchase electric floor heating for your home
The Best Places to Install Electric Heated Flooring in Your Home
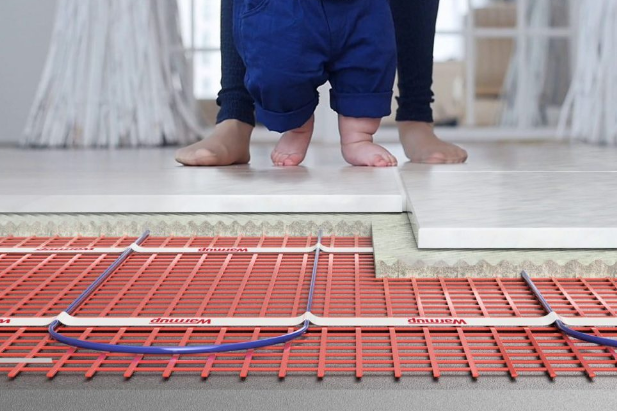
Radiant floor heating is becoming increasingly popular with homeowners looking for a discreet heating solution that can assist in reducing energy usage. Warmup’s collection of electric systems can be installed in every room of your home and used with a wide range of flooring options, including concrete tile, laminate, wood, and more. They are surprisingly easy to install and are an excellent option for re-modeling projects because they will have little impact on existing floor heights.
Some of the best places for heated floors include:
Bathrooms
Bathrooms are among the most common places people consider installing heated flooring systems. Nobody likes to step on cold floors as they step out of the shower and radiant heating will ensure you remain comfortable every season. Warmup’s StickyMat System is a great choice for bathrooms. Its self-adhesive backing means you can install this system in your bathroom in under a day.
Bedrooms
You can’t expect to get a good night’s sleep if you’re shivering under your blankets. Space heaters may provide relief, but they also pose many risks, including a potential for fire and burns. Radiant heating in a bedroom eliminates these risks, creating a safe, warm, and comfortable environment for a restful night’s sleep. Looking for an electric floor heating system for carpeted bedroom floors? The Foil Heater is a great choice. It offers a dry installation method, with no need for thinsets.
Kitchen
Kitchens are another popular place for heated flooring. Much like bathrooms, cold kitchen tiles can be uncomfortable whilst the limited wall space in kitchens makes traditional heating methods unviable. Our DCM-PRO Uncoupling System has been specifically designed for use with stone and tiled floor finishes, helping to prevent cracks from forming.
Basements
Most homeowners use their basements for either storage or as an entertainment space to enjoy with friends and family. The problem is that basements are typically the coldest room in a property. Installing heated floors in a basement will provide much-needed warmth to keep everyone comfortable without any cold spots.
Home Offices
Just like you need a comfortable environment to sleep in, you need a comfortable environment to work in to be productive. Heated floors in offices will provide silent, consistent heating so you are comfortable doing your work without needing space heaters or blankets. Find out more about the best heating options for home offices in our expert article.
What Materials are Required to Install a Radiant Floor Heating System?
Before you begin your electric heated floor installation, it is important to make sure that you are well prepared with all the necessary materials. These materials may include:
- The floor heating system you are installing, including its accompanying components.
- A floor-leveling compound or thinset to ensure a smooth, level surface for installation.
- Insulation to provide better heat loss resistance. Warmup’s Ultralight Insulation Boards are a great insulation solution to use with radiant floor heaters.
- A compatible thermostat that will allow you to control the system.
- A digital multimeter to test the resistance of the heater and floor sensor.
- Electrical tape for securing the floor sensor.
- UL/cUL certified electrical housings, back boxes, and junction boxes that meet National electrical code requirements and ensure your heating system functions safely and effectively.
- UL/cUL certified electrical conduit to house the power leads.
- Your choice of flooring that is compatible with your heating system.
- A utility knife
Step-by-step Guide to Installing Electric Radiant Floor Heating
Installing a radiant floor heating system correctly is vital to its function and safety, so it’s important to take your time and work with a fully qualified professional as needed. You should also always refer to your specific product installation manual to guarantee a successful installation.
1. Have a Professional Oversee the Electrical Work
The electrical components of the heating system should be left to a professional electrician who understands national and local codes. They can make the proper connections, install a dedicated circuit breaker, and handle other electrical needs. Electric radiant floor heating systems must be connected to the electrical system using a UL/cUL certified Ground Fault Circuit Interrupter (“GFCI”). If you don’t use a GFCI-integrated thermostat, ensure the branch circuit supplying your heaters is GFCI-protected and use a dedicated GFCI-protected circuit to supply each heat zone, if possible. You could also have your heating system on a separate circuit breaker to ensure that it will continue to work even if the main breaker is tripped.
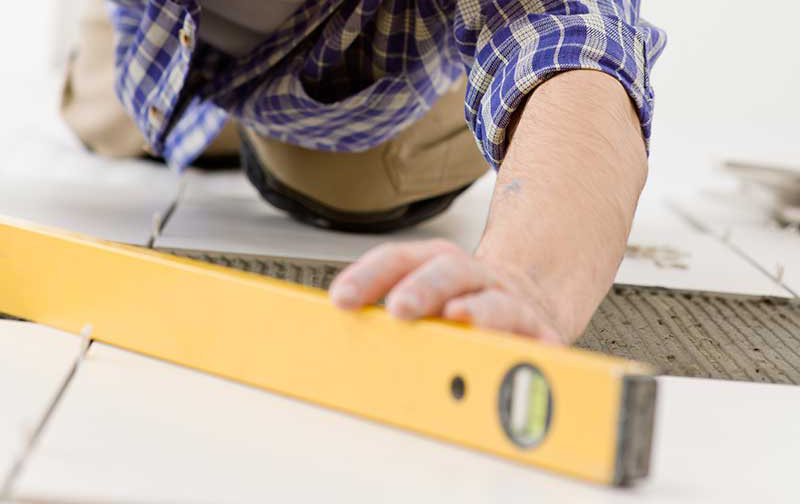
2. Prepare Your Space
Before you even purchase your heating system, you need to know the precise size of your heated floor area. To get this number, you want to determine the total square footage of the space you are measuring. Once you have that, you want to subtract any unheated spaces; this includes any furniture or other permanent fixtures.
Preparing your floors for installing your radiant heating system is next. This means removing the existing flooring, leaving a clean, smooth, and dust-free subfloor.
If necessary for your chosen heating system, apply a levelling compound and allow it to cure completely to ensure you have level flooring. You can also prime your subfloor as needed, using the appropriate solution.
3. Install Insulation
To increase the effectiveness and efficiency of your floor heating system, you should install good quality insulation. Underfloor insulation is highly recommended to improve heating times and decrease heat loss – it can also help with noise reduction and waterproofing. Warmup’s Ultralight Insulation Boards offer a great inundation solution and can be applied to your clean and level subfloors using a flexible cement-based adhesive.
4. Apply Perimeter Strips, if Necessary
Perimeter strips allow for differential movement between the finished floor level and walls. These strips are installed along the perimeter of the space, ensuring the adhesive touches the wall and floor.
5. Test the Heating System
Before beginning the electric floor heating installation, you must test your heating element. Use your multimeter to measure the resistance of the heating element between the core wires and compare that number to the number on the UL tag. While some variance is acceptable, it shouldn’t be more than 15% more or less. Then, you want to measure the continuity between the core and ground wire. That should be ready for “O/L” or “Infinity”. If the system fails either test, do not install the system and contact the manufacturer.
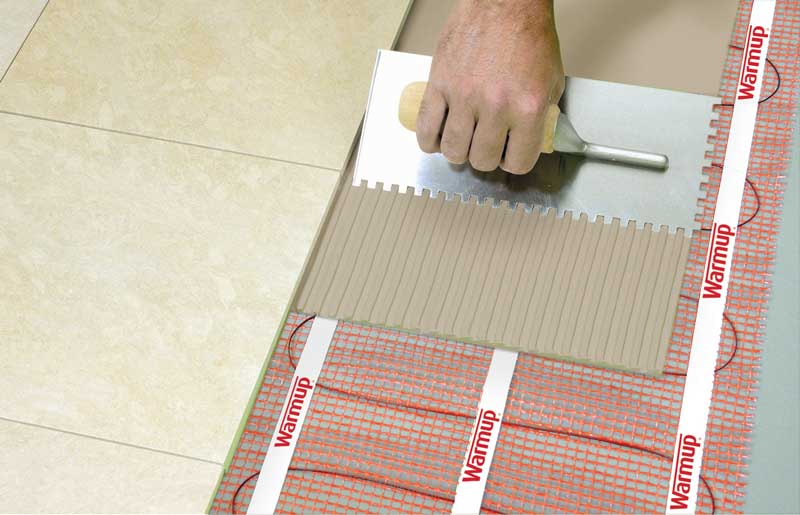
6A. Fit the Heating Mat
Now you are ready to install the radiant floor heating system. If you are installing a heating mat-based system such as Warmup’s StickyMat, apply a layer of thinset to the insulation boards and stick the mat to it, putting pressure on it to eliminate any air pockets. Continue this process until the desired heated area is covered. The Foil Heater does not require usage of a thinset. To protect the mat during installation, you can cover it with walking boards.
Whilst underfloor heating systems are controlled by their thermostat, the system’s accompanying probe will identify the room’s temperature through the heat from the floor. For the Foil Heating System, sensor probes are installed underneath the mat and placed halfway between two runs of the matting.
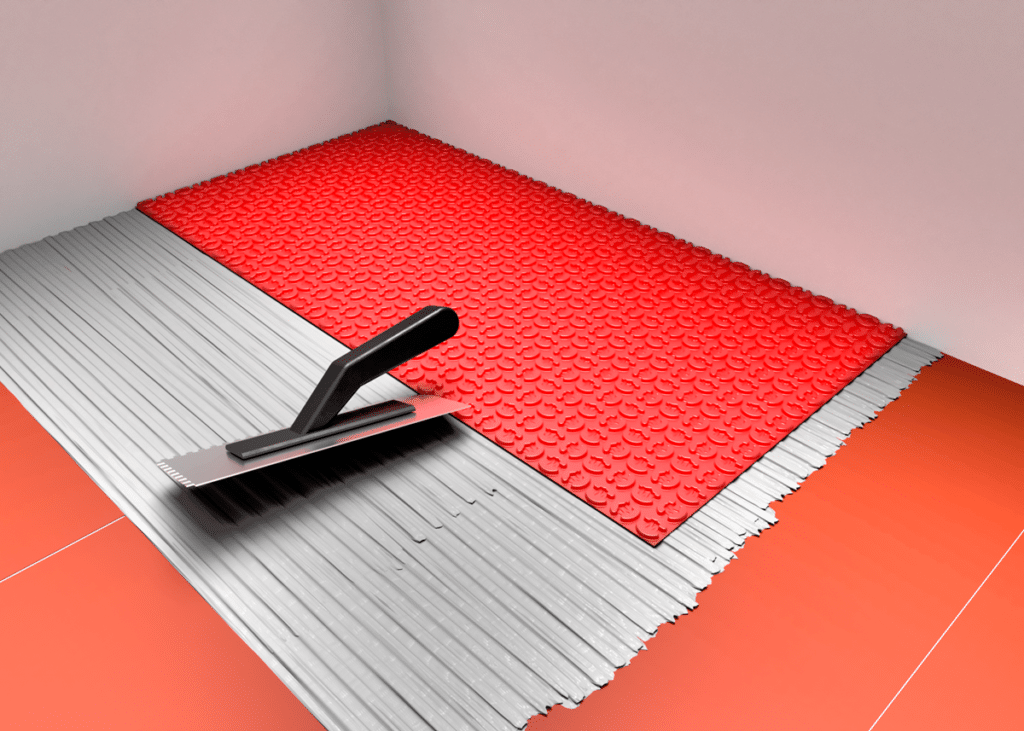
6B. Fit the Heating Cable
If you are using a heating cable and membrane-based system such as Warmup’s DCM-PRO, you should install the membrane much like a heating mat-based electric floor heating system. To fit the cable into the membrane, firstly make a plan of how you will lay the cables to avoid potential damage to the system during the installation. Then, start by placing the cold tail on the floor and cutting a section in the membrane for the manufactured joint to ensure it sits at the same height, and secure it using electrical tape. Begin laying the cable, pressing it between the membrane pegs, and following the desired layout. Review your progress at the midpoint and ensure you are installing the cable correctly. Once you reach the end of the cable, you will do the same thing you did with the manufactured joint but do not tape over it.
DCM-PRO sensor probes should be centered between two element heating runs, at least 12″ into the heated area. It should not touch or cross any heating cables. If necessary, you can create a channel in the subfloor to ensure it doesn’t go above floor height, with a piece of tape over the communication wire to help hold it in place. It is recommended to have a backup sensor probe for every thermostat. Once the DCM-PRO is installed, you can apply a thinset layer over it to set everything in place, allowing it to cure before moving on the floor installation.
It’s also worth noting that if you are installing the system in a wet area like a bathroom, you need to waterproof everything. To do this, apply your leveling compound and then the waterproofing material, like Warmup Waterproof Tape, smoothing it with a trowel to eliminate any air bubbles. Use care to ensure that you don’t damage the cable.
7. Install the Thermostat
Thermostats are an important part of radiant floor heating. They ensure that your heating system reaches its target temperature and allow you to set automated heat schedules, helping to improve the efficiency of electric heating. All thermostats should be installed by a qualified electrician in accordance with National Electrical Code.
Warmup offers two thermostats to use with your new heating system:
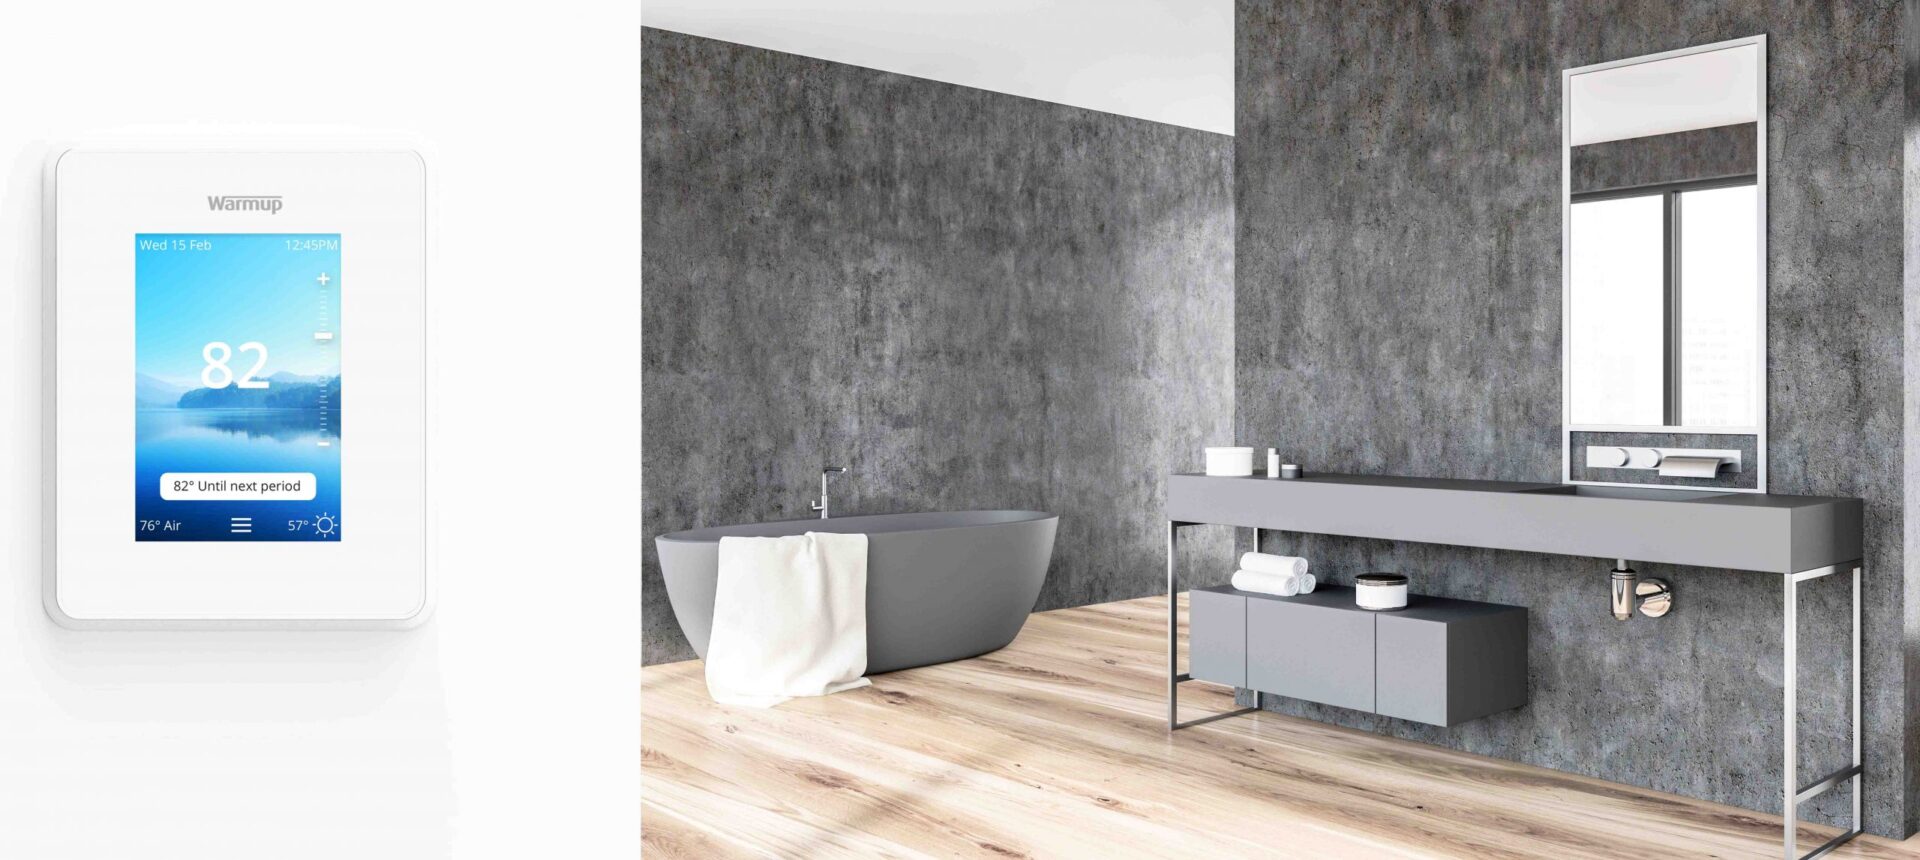
- The 6iE Smart Thermostat is the first underfloor heating controller that has a smartphone touch screen. It features weather-based Early Start technology to help maximize the system’s energy efficiency and significantly reduce your energy bill.
- The Terra Wi-Fi Thermostat is a low-profile system with a high-resolution color display. It is simple to use and install and is compatible with all Warmup systems. The Terra thermostat uses SmartGeo technology to help automate heat control, reduce energy usage, and find the most efficient heat settings for your home.
8. Lay Your Flooring
Now that the heating system is installed, you can fit your chosen floor finish. Simply follow the advice of your installation guide; the DCM-PRO System and StickyMat can be directly tiled onto whereas the Foil Heater may require usage of an overlay material to sit between it and the floor finish. You should only use flooring materials that are approved for use with underfloor heating.
How Much Will Radiant Floor Heating Cost to Install?
The costs of installing heated floor systems depend on several factors including the cost of the system, the size of the space, any supplemental materials you need to purchase, whether you install it yourself or hire a contractor and the electrical work done by a professional. This doesn’t take the cost of flooring into account. You can expect to pay a professional installer anywhere from $50 to $100 an hour to install electric heated flooring in your home.
Ready to purchase your new radiant floor heating system? With over 25 years of experience in creating floor heating systems, Warmup has created some of the most reliable solutions for underfloor heating on the market. Our systems are easy to install and feature excellent warranties. Get a quick quote today to find the perfect system for your needs or contact the Warmup team to learn about our different systems and find which is best for your home. For more information visit our YouTube channel.